How to apply a penetrating sealer?
How to apply a penetrating sealer?
How to apply a penetrating sealing agent like a pro? You should seal cement tile to prevent water damage and staining. However, you can also use them to restore or enhance color. Because of the variety of sealers available, the nomenclature and the many manufacturers, sealing cement tiles is one of the most confusing steps.
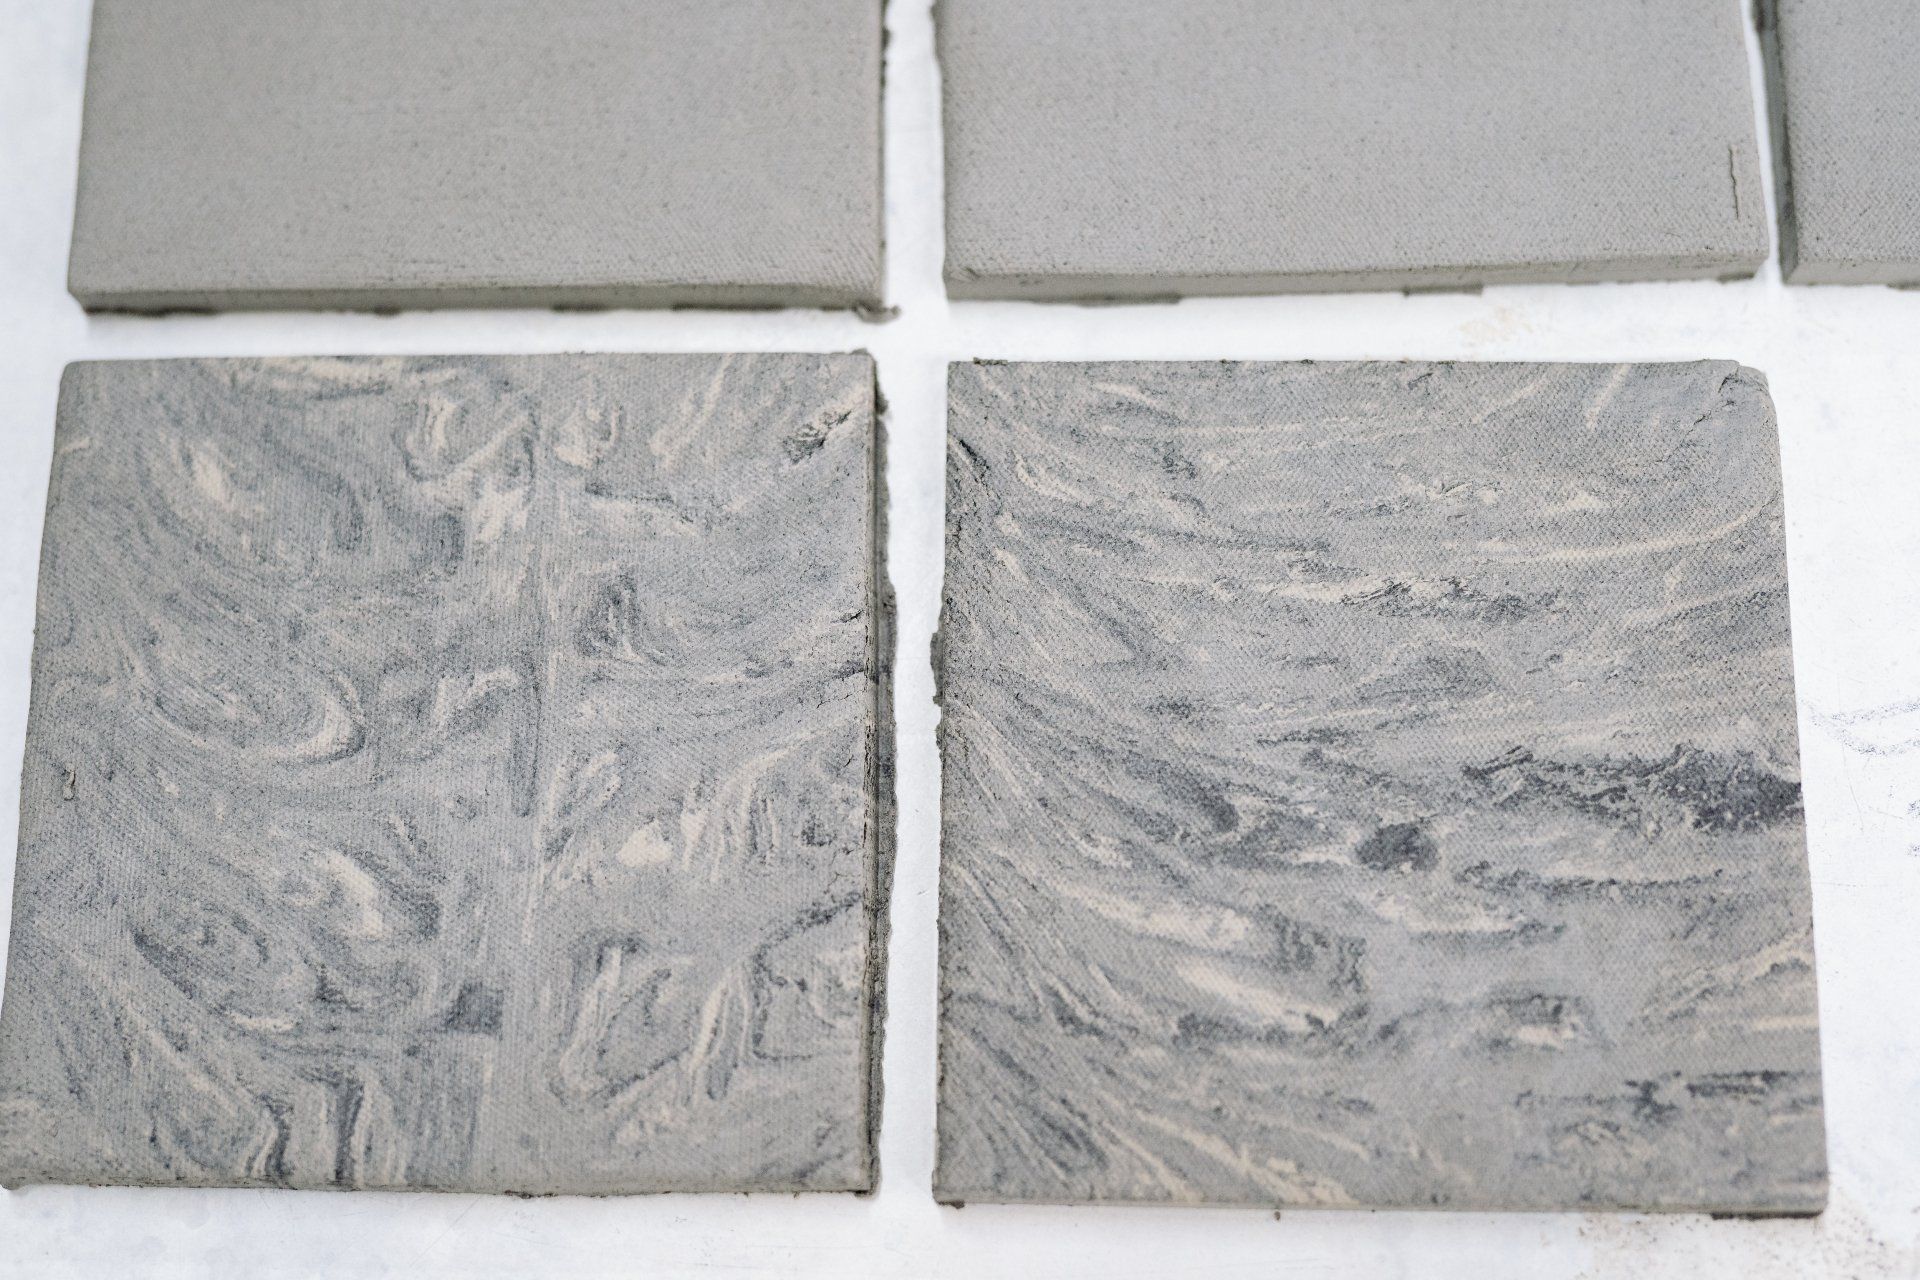
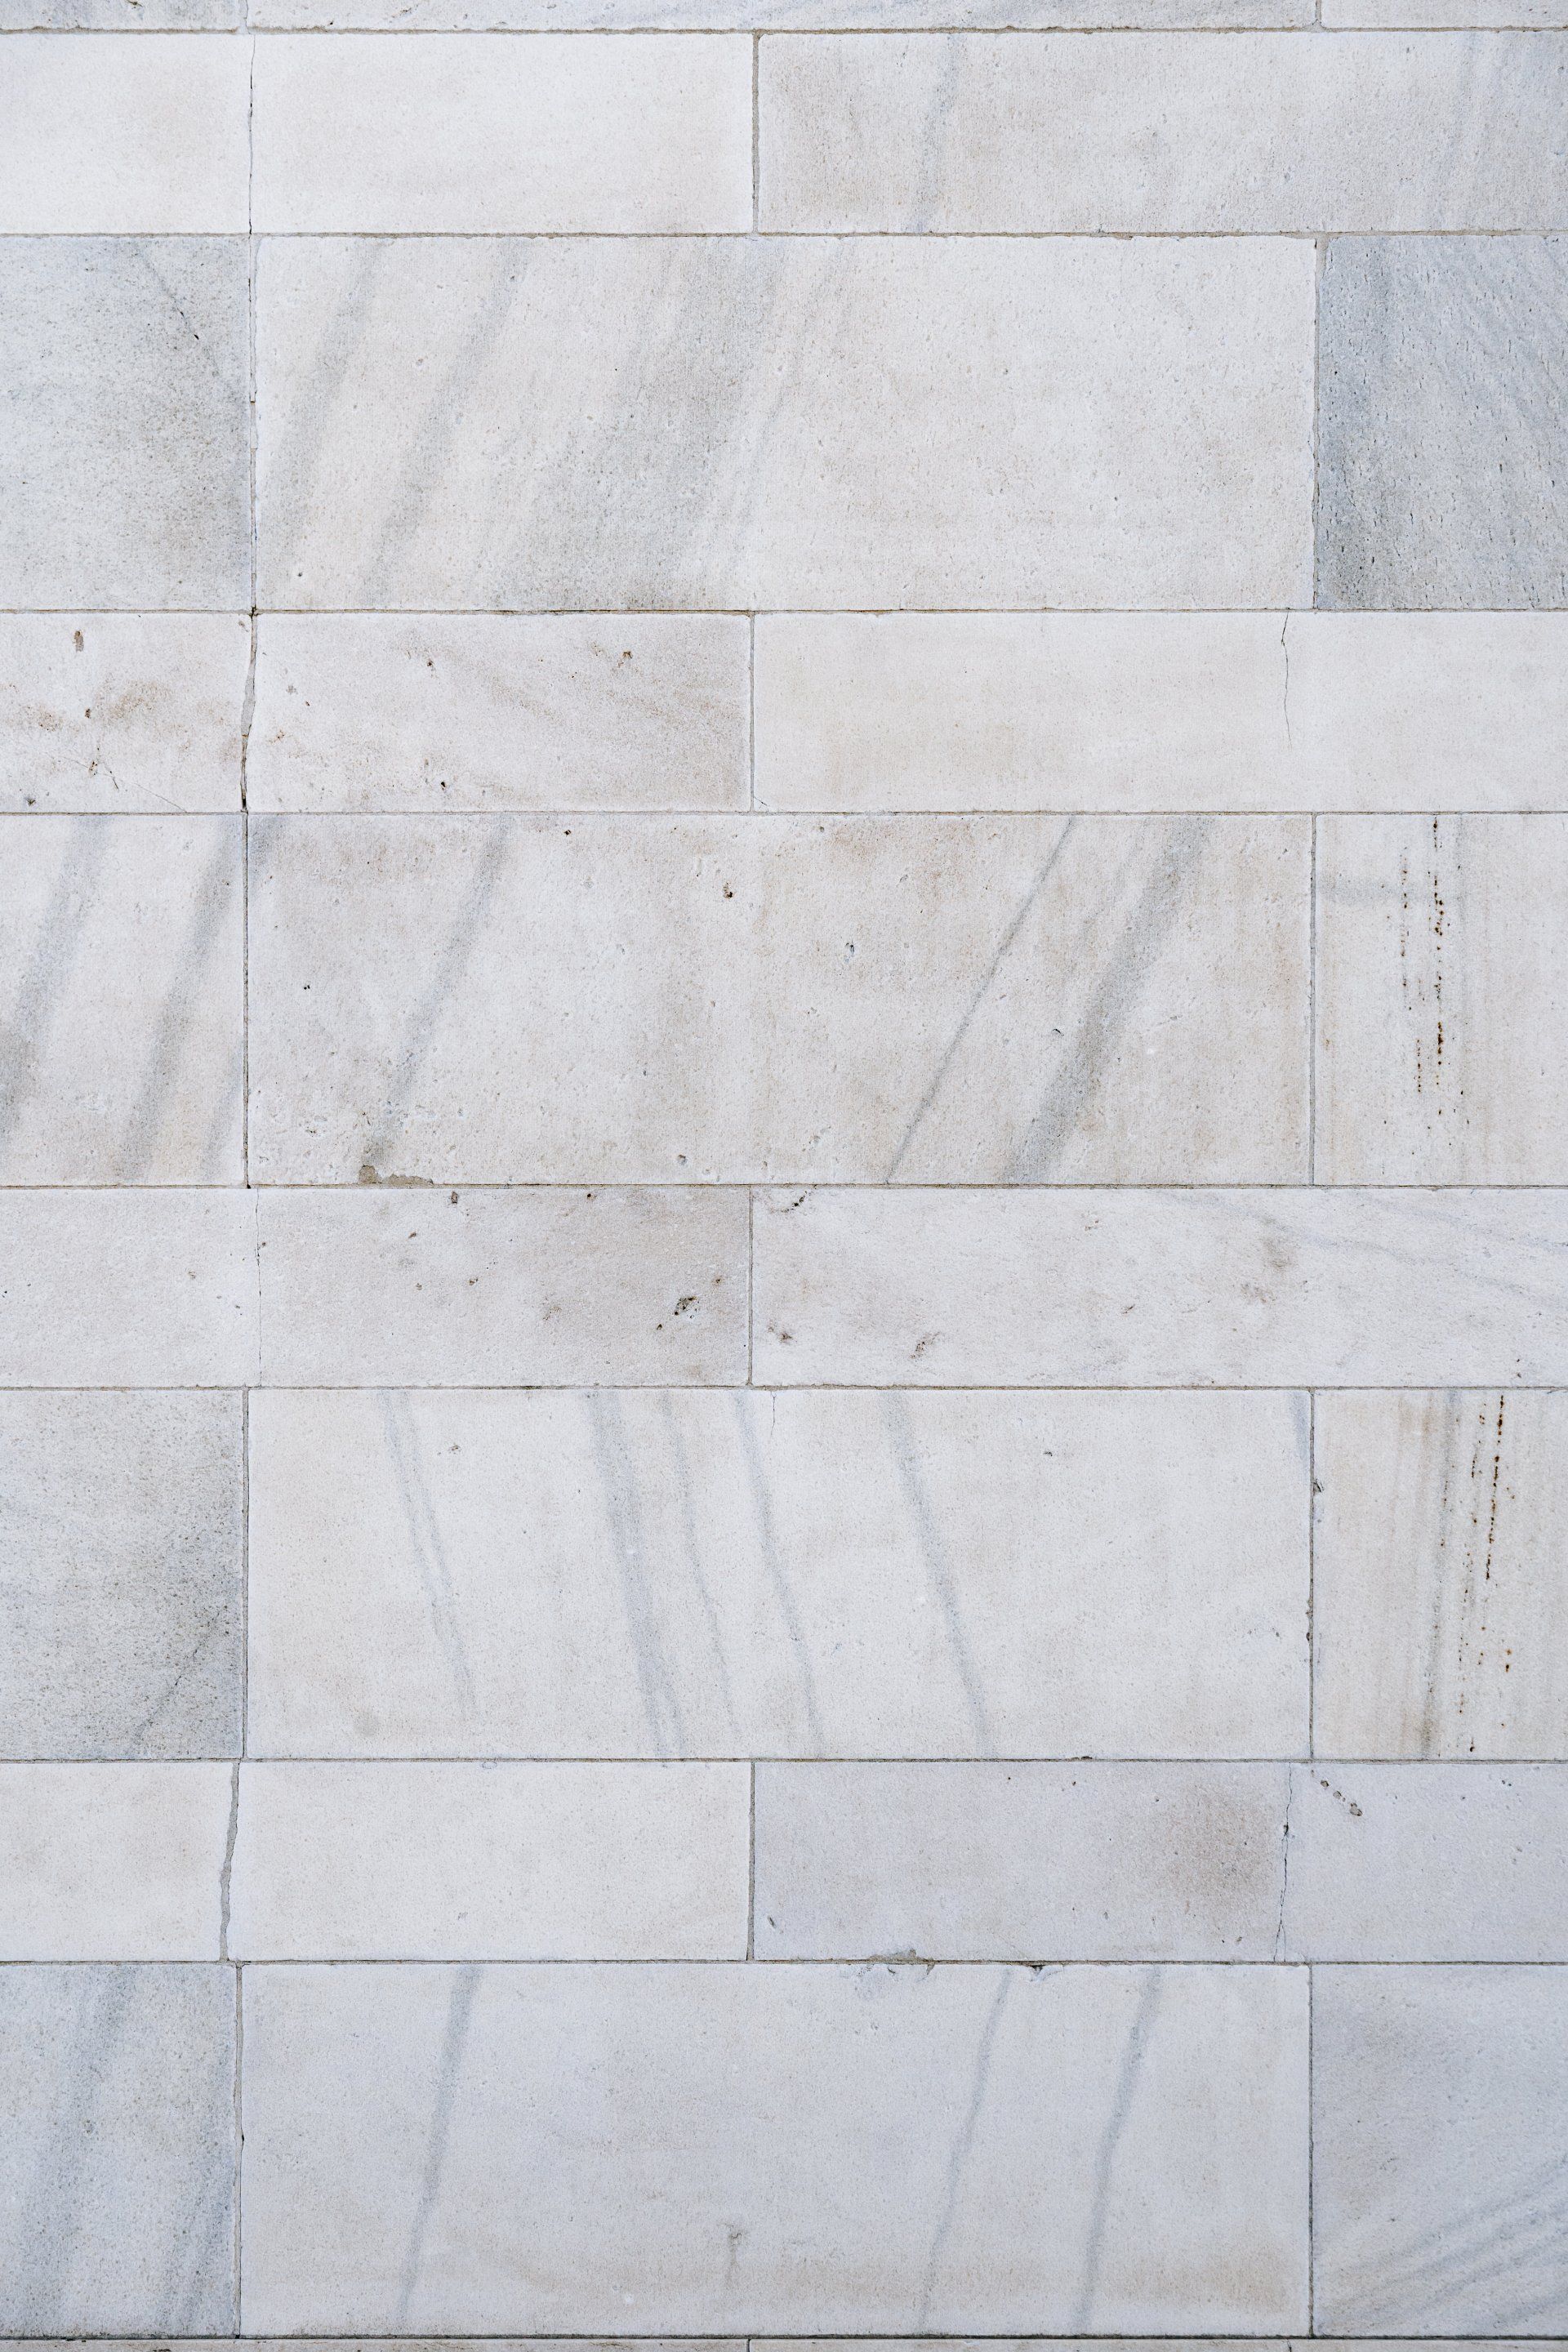
Cement tile can appear dull and chalky before a penetrating sealing agent is applied. A penetrating sealer protects the tile against water and staining. Topical and penetrating sealers can be used to brighten colors. They can also provide additional finishes such as gloss or sheen. Sealers are still one of the most confusing and misunderstood steps in installing cement tile. There are many types of sealers, including topical, color-enhancing, and impregnating. Also, there is a dizzying array of manufacturers and specialized products.
- Step 1. Choose a high-quality impregnating or penetrating sealer. A solvent-based or water-based sealer can be used. Water-based sealers can be easier to apply, and they may offer better protection as they don't absorb into the tile as well. Solvent-based sealers are stronger than water-based ones and can provide greater protection against water.
- Step 2. Apply a topically applied sealer to give the tile an additional finish. Because they penetrate the tile beneath the surface, penetrating sealers do not affect the tile's finish. Topical sealers protect the tile's surface from stains. There are three types of topical sealers: matte, satin, and shiny. A chemical is often added to matte topical sealers. This not only reduces the shine but also weakens it. Because of the rapid degradation caused by sunlight, topical sealers should not be used for exterior purposes. The skin will begin to wear and need to be reapplied more frequently than the penetrating sealers.
- Step 3. Test your sealer/sealer combination. Make sure to test your final sealer/sealer combination. Apply the sealer to a tile test and ensure that it is applied correctly.
- Step 4. Clean the area to be sealed. Begin by cleaning the tiles with a broom or blower. Next, clean the tile with a mild detergent or a tile cleaner. Rinse with water and a grout sponge. Clean the tile again if it looks cloudy or hazy.
- Step 5. Apply the sealer using a lamb's wool applicator, a lint-free cloth or a paint brush. You should apply three coats of sealer, allowing it to dry between each one. You should apply the sealer generously, but do not allow it to pool, streak, or run.
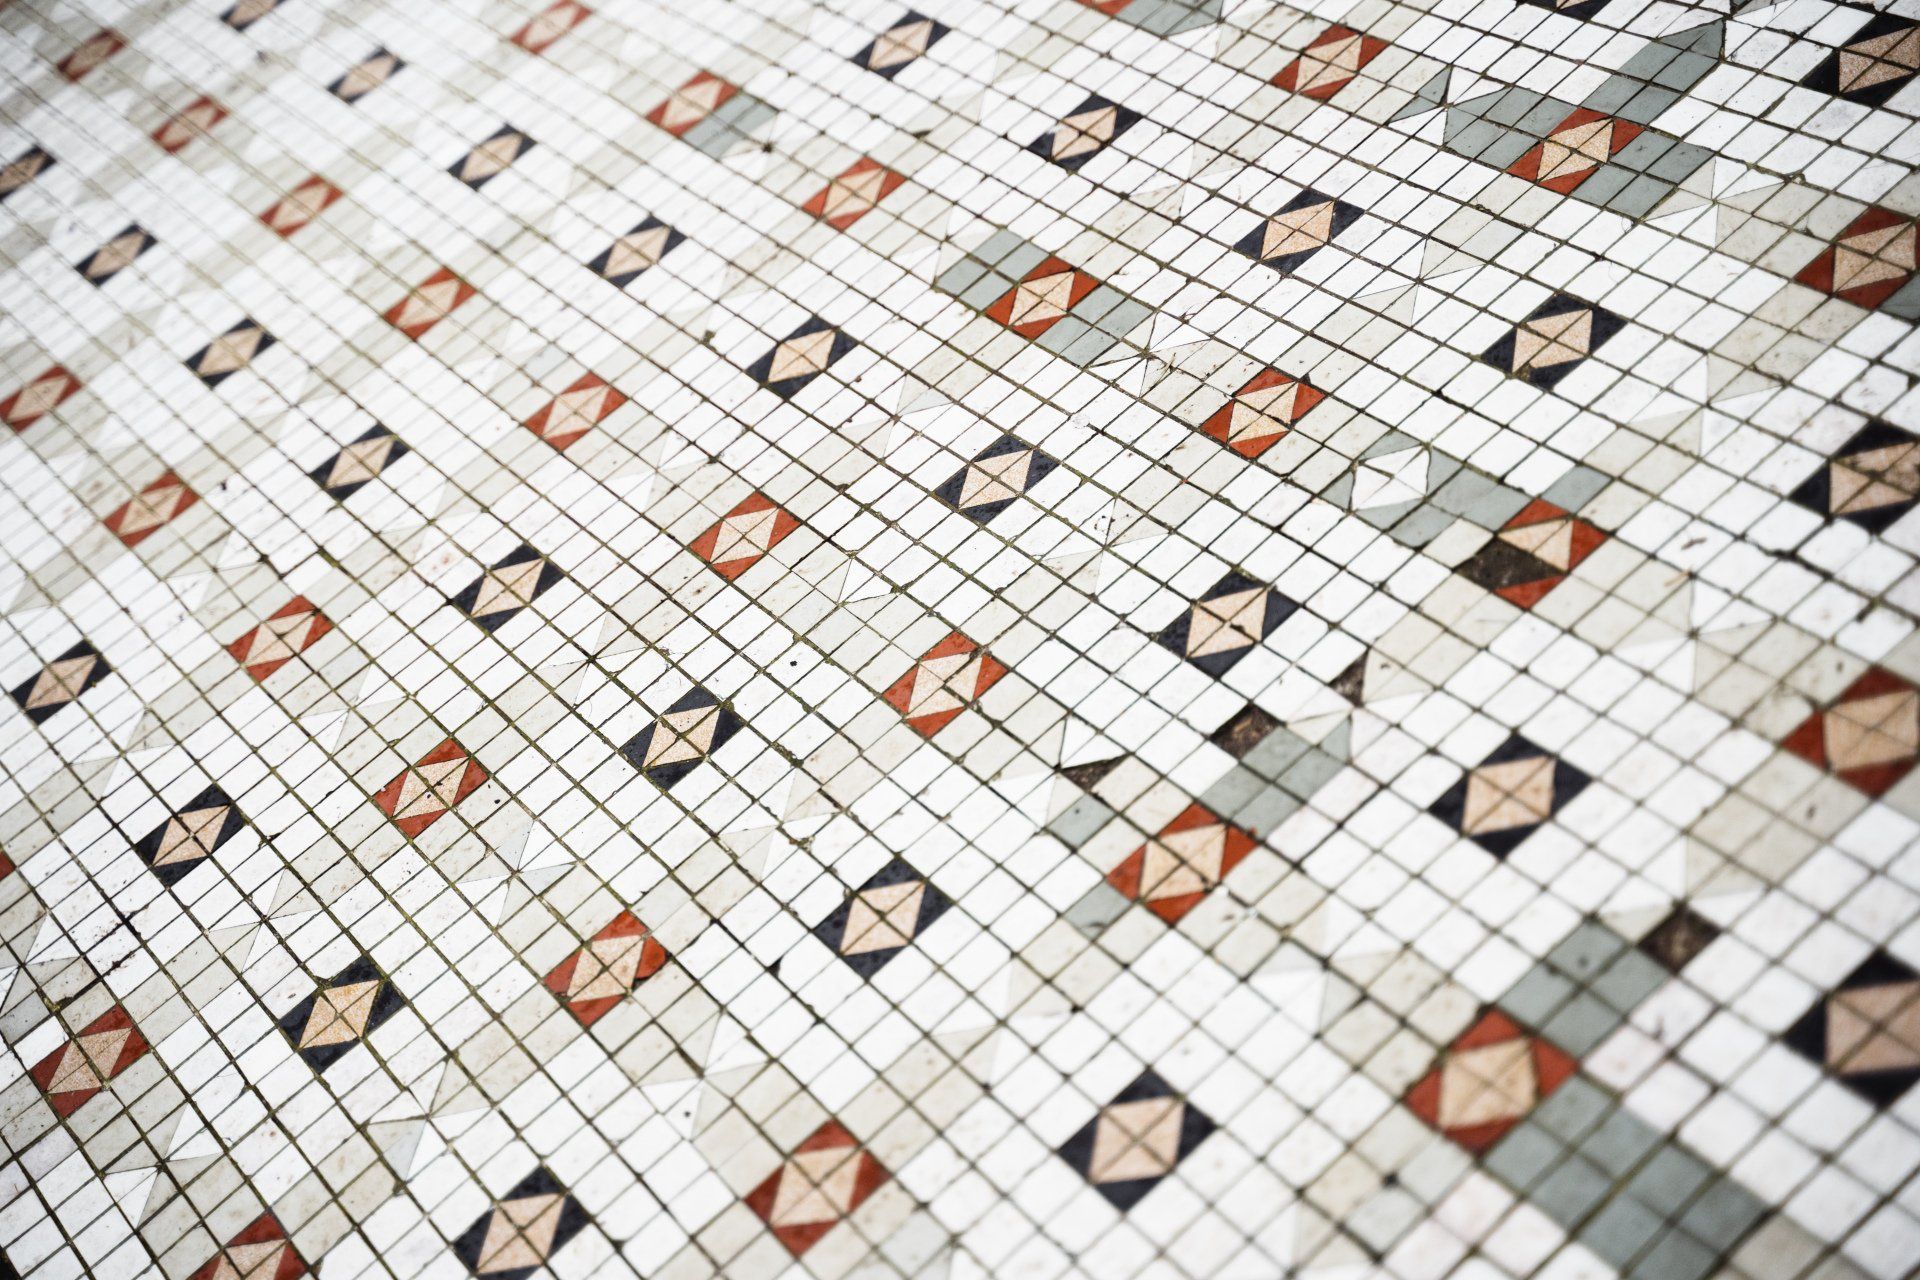
Cement tile crazing: Cement tiles often show "crazing" or fine hairline cracks. This isn't a defect, and it does not indicate a problem with the tile. However, the cracks will become more obvious when tiles are wet or after applying a sealer. On plain tiles, as well as on darker tiles, the small cracks and branches are more noticeable. If you notice this after applying a sealer or if tiles become wet, don't panic.